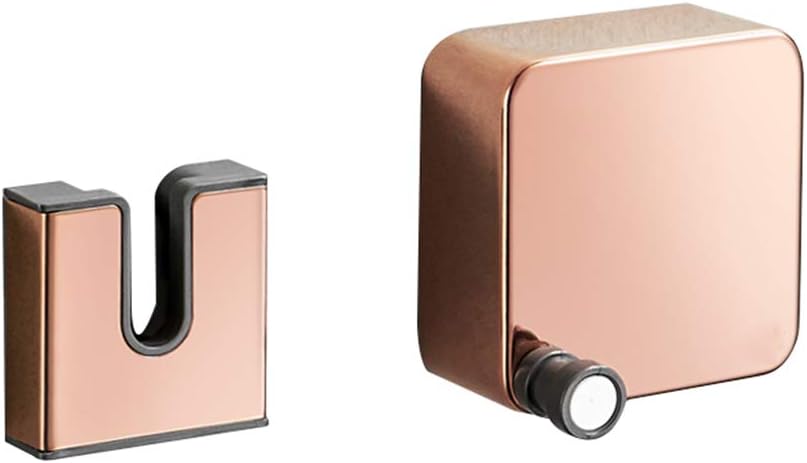

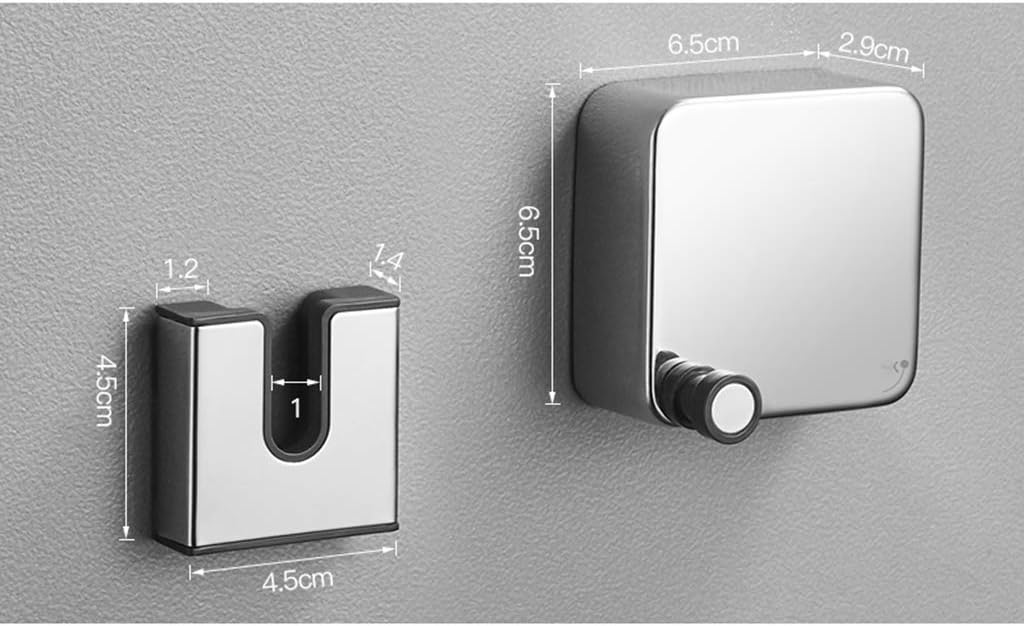
Laundry Rack, Wall Dryer, Stainless Steel Clothes Airer Dryer Retractable Clothes Drying Rope Washing Line 350cm Drying Space
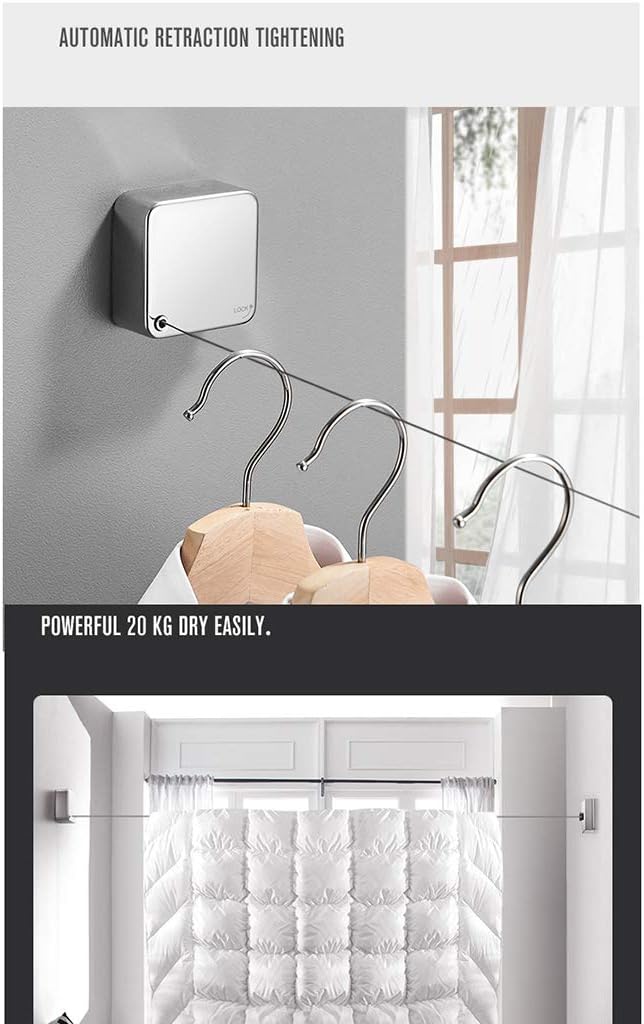
DRYING SPACE: Sturdy wall-mounted dryer with 3.5 m line length can bear 25kg
CONTAIN MOUNTING MATERIAL: For Indoor Laundry Drying(note that the product does not contain glue)
CLOTHES AIRE
-
Detail
Wall mounted Retractable Clothes Airer
Punch installation
1 The main body mounting film is placed on the wall to mark the punching position (note that the small in the frame is facing down)
2. Use a 6mm drill bit to punch holes in the marked position. (The punching depth is greater than the length of the plastic expansion plug)
3. Knock the plastic expansion plug into the hole
4. Fix the base with screws (note that the small in the frame needs to face down)
5 main body film installation is completed
6 main body completed installation
No need to punch the installation
1. Select the wall position and dry the wall with water stains
2. The back of the main film is not easy to be used on the back of the film (please follow the glue on the back side as shown in the figure).
3. Attach the film to the wall, move it up and down, left and right, and then squeeze it for 1 minute (the small in the main frame is facing down)
4. Attach an auxiliary sticker to prevent the glue 4 from loosening or falling. (Wait for 72 hours to make the glue solidify)
5.72 hours later, the main body is hung up (the main body is first inserted and then pulled down)
6. The main body completes the installation -
Customer ReviewsNo comments